Most gas line jobs around Seattle cost somewhere between a few hundred dollars and a few thousand. That’s a wide spread, and there’s a good reason for it. “Install a gas line” can mean a 15-foot branch to a new range in the kitchen. It can also mean a 120-foot trench across the backyard to an outdoor kitchen, or bringing gas to a house that’s never had it.
This guide walks through typical price ranges, what pushes a job toward the low or high end, and the local details that national cost guides leave out: how Puget Sound Energy handles new service, who issues gas permits in King County, and why digging here can take longer than you’d expect. The numbers are typical ranges, not a quote. If you want a real number for your house, we’ll give you one for free.
Typical costs at a glance
Tapping into a line you already have is the cheapest gas work there is. Bringing gas to the property for the first time is the most expensive.
| Job | Typical cost |
|---|---|
| Extend an existing line to one nearby appliance (10 to 30 feet) | $350 to $800 |
| New line from the meter to one appliance | $500 to $2,000 |
| Lines to two or three appliances | $1,200 to $3,000 |
| Piping for four or more appliances throughout the house | $2,200 to $7,500 |
| New service from the street (no gas at the house yet) | $2,000 to $10,000+ |
Where a job lands in each range comes down to distance, access and whether we have to dig. Labor costs more around Puget Sound than in much of the country, so local prices tend to sit in the middle or upper part of each range.
If you’d rather think per foot, simple runs with easy access tend to cost $15 to $25 per foot installed. Underground runs, or lines that have to snake through finished walls and around obstacles, can reach $35 to $50 per foot or more.
Cost by appliance
Here’s what it typically costs to run a line to a single appliance:
| Appliance | Typical gas line cost |
|---|---|
| Dryer | $400 to $900 |
| Stove or range | $500 to $1,200 |
| Water heater | $500 to $1,000 (tankless can cost more) |
| Fireplace | $500 to $1,000+ |
| Furnace | $600 to $1,500 |
| Outdoor grill or fire pit | $600 to $1,300 |
| Standby generator | $400 to $1,500+ |
| Pool heater | $500 to $1,500+ |
A few notes on the jobs people ask us about most:
Gas ranges
If the kitchen sits near where gas already comes into the house, this is often a half-day job. A second-floor kitchen or a run through finished drywall takes longer. If you’re switching from an electric range, plan on one extra item: a gas range still needs a standard 120-volt outlet behind it for the igniter, clock and oven light. Your old 240-volt range outlet won’t do that job.
Tankless water heaters
A tank water heater uses roughly 40,000 BTUs an hour. A whole-house tankless unit can pull close to 200,000. The half-inch line that fed your old tank usually can’t keep up, so part of the line back toward the meter may need to be replaced with larger pipe. That’s where the extra cost comes from. We cover the rest of a tankless switch in our post on planning the gas line for a tankless water heater.
Standby generators
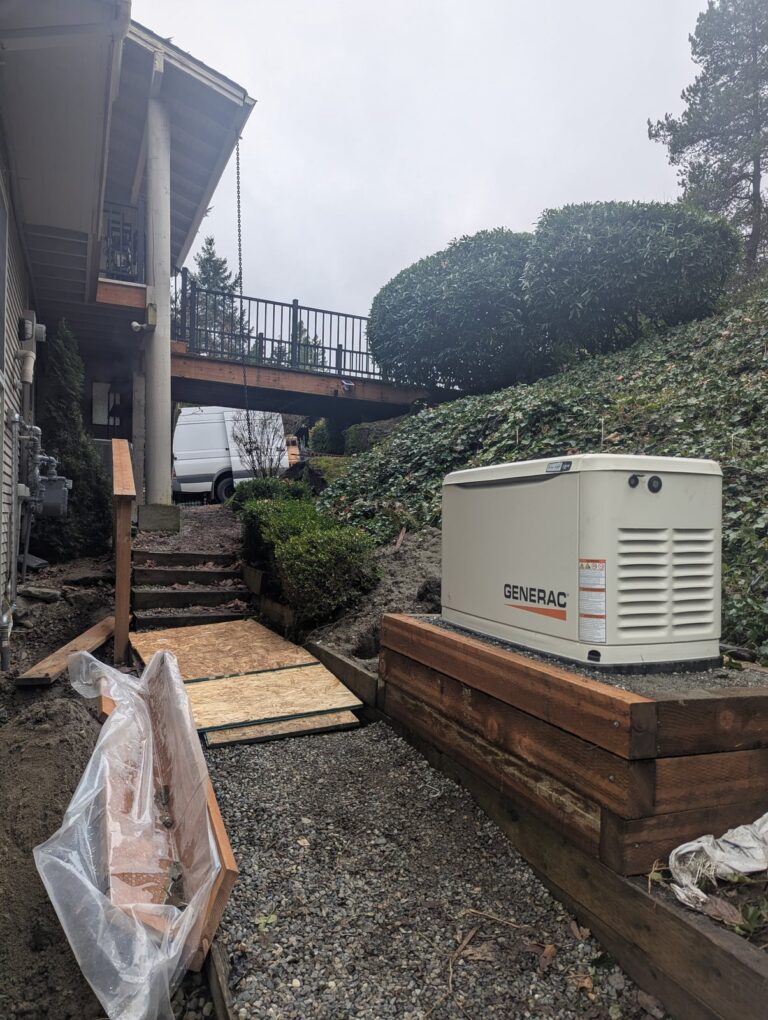
At full load, a whole-house generator can burn more gas than every other appliance in the house combined. The line has to be sized for that, and sometimes the meter does too. We go into more detail in our guide to gas lines for standby generators.
Fire pits, grills and outdoor kitchens
Outdoor lines usually mean trenching, which is why they cost more than indoor runs of the same length. If you’re shopping for a fire feature, our Warming Trends page covers the burners we install.
We’ve written separate guides to natural gas fire pits, gas lines for grills and outdoor kitchens and natural gas patio heaters if you want the details on any of them.
Gas fireplaces and inserts
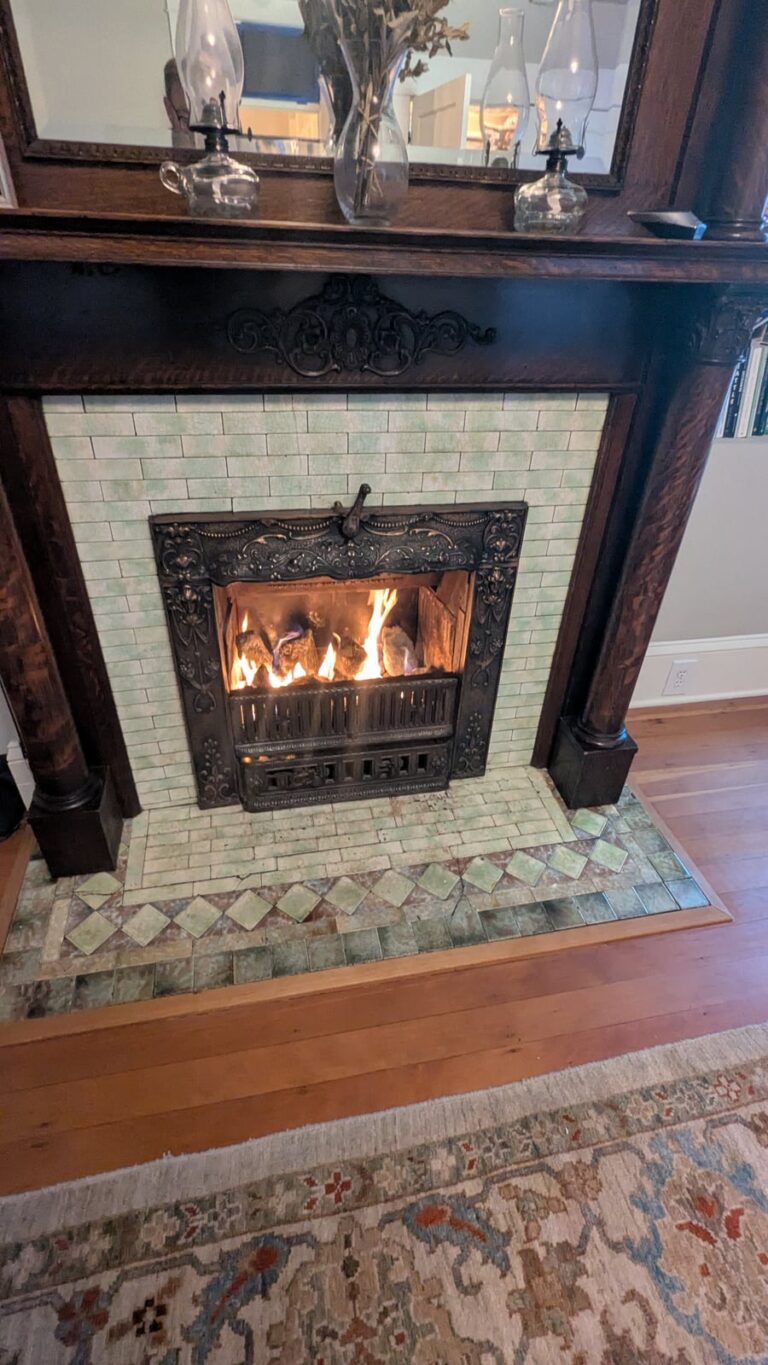
A fireplace is a modest gas load, so the cost mostly comes down to how hard it is to reach. A ground-floor fireplace over a crawlspace is simple. A second-floor fireplace or one on a slab takes more work. Our post on converting a wood fireplace to gas covers inserts, gas logs and chimney prep.
Want a number for your house instead of a range?
Tell us what you’re adding and where your gas meter is, and we’ll give you a free estimate.
What makes one quote higher than another
Distance and route
Length matters, and the path matters even more. A 40-foot run through an open crawlspace can cost less than a 20-foot run that has to go through finished walls and ceilings. Every wall we open has to be patched, and every turn adds fittings and labor.
Going underground
Trenching typically adds $5 to $15 per foot. When the line has to go under a driveway, patio or mature landscaping, boring underneath instead of digging up the surface runs about $10 to $30 per foot, but it can save you a concrete repair bill.

Digging around here has its own quirks. A lot of Western Washington sits on dense glacial till full of rocks, and older neighborhoods have big tree roots and buried utilities everywhere. Washington law requires a call to 811 at least two business days before anyone digs, so that’s built into the schedule too.
Pipe material
Most interior gas lines are black iron or CSST (the flexible yellow-jacketed stainless tubing). CSST goes in faster, which can lower the labor cost, but it has to be bonded to your home’s electrical grounding system. Underground runs are usually polyethylene pipe, which has to transition to metal before it comes up out of the ground.
Total gas load
Every gas appliance has a BTU rating, and the pipe has to be sized for everything connected to it. Adding one more big appliance, like a tankless water heater or a generator, can mean upsizing pipe that’s already in place. If your total load goes past what the meter is rated for, the utility may need to swap the meter for a bigger one.
If your house doesn’t have gas yet
This is where costs climb fastest, so it’s worth understanding who does what.
Most of King and Snohomish counties get natural gas from Puget Sound Energy. In Skagit County, the utility is usually Cascade Natural Gas. Either way, start by calling the utility to confirm there’s a gas main on your street.
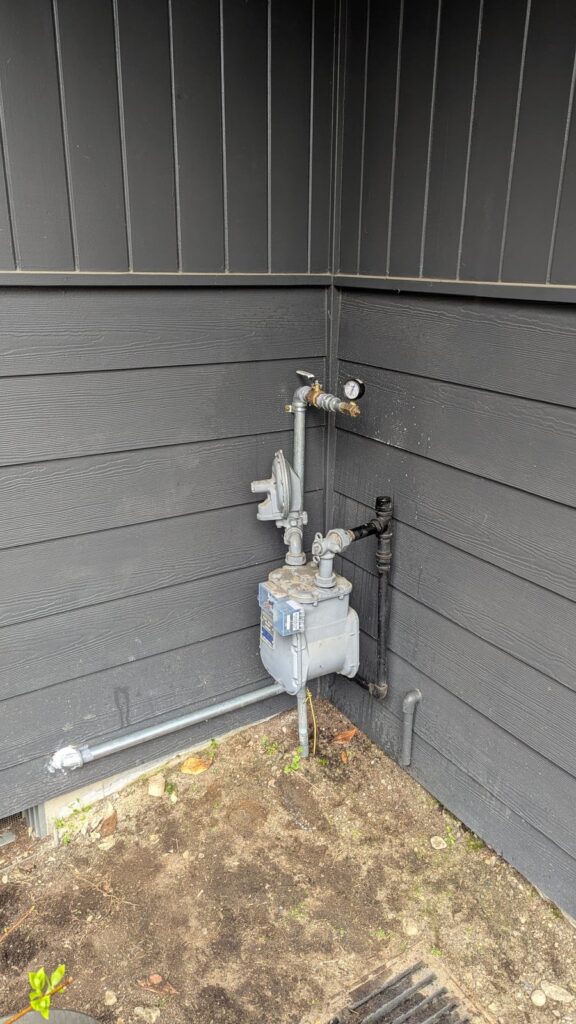
For a single-family home, PSE’s process splits the work. PSE brings the service from its main to your property line and sets the meter. The homeowner is responsible for the trench from the property line to the meter location, plus all the piping past the meter. That piping is the part we do. If the main doesn’t reach your street, PSE will give you an estimate to extend it. PSE’s construction line is 1-888-321-7779.
Utility scheduling can take several weeks, so if you’re planning a project around a new gas service, start that call early.
If there’s no gas main nearby, propane is the usual alternative. Many propane suppliers lease the tank and set it for you when you sign up for delivery, and we run the lines from the tank to your appliances, the same as with natural gas.
Permits and inspections
New gas piping needs a permit almost everywhere in Western Washington. Who issues it depends on where you live, and it surprises people.
In Seattle and unincorporated King County, gas piping permits come from Public Health – Seattle & King County, not the city’s building department. Under the fee schedule King County adopted in 2025, a permit starts at about $132, plus around $26 for each appliance connection. Fees change, so check the current schedule before you budget.
In most Snohomish and Skagit County cities, gas piping falls under a mechanical permit from the city or county. Fees vary by jurisdiction, but $100 to $300 is common for a typical residential job.
We pull the permit and schedule the inspection as part of the job. Before the walls are closed up or the trench is backfilled, we pressure-test the new line, and then the inspector checks the work. You end up with a documented, permitted installation, which matters later. Home inspectors and buyers do ask about unpermitted gas work when you sell.
Ways to keep the cost down
The biggest savings come from planning ahead. If you want a gas range now and a fire pit next summer, tell us about both. Sizing the main line for both in one visit costs less than coming back to upsize it later, and you only pay for one permit.
If the line will run through a crawlspace, garage or basement, moving storage out of the way before we arrive saves billable time.
When you’re comparing quotes, make sure they cover the same work. One quote might include the permit, pressure test, appliance connection and patching. Another might leave half of that out.
Get a real number for your project
Price ranges are a good starting point, but the only way to know what your job costs is to look at your house. Tell us where the appliance is going and where your gas meter is. If you can send a couple of photos, we can often give you a ballpark before we come out.
We serve homes and businesses across King, Snohomish and Skagit counties from our shop in Sultan. Read more about how we handle installations on our gas line installation page.
Common questions
Do plumbers install gas lines?
Some do. In Western Washington, gas piping is done by plumbers, HVAC contractors and gas piping specialists like us. Seattle and King County require installers to hold a gas piping certificate, so it’s fair to ask anyone you hire which certification they carry.
How long does a gas line installation take?
Most residential jobs take one to two days. Longer outdoor runs, trenching or several appliances can stretch it to two or three days. Permit approval and inspection scheduling add some lead time on either end.
Can I install a gas line myself?
King County does offer a homeowner gas piping permit for work on your own house, so in some places it’s technically allowed. We’d still steer most people away from it. A gas line that’s undersized or has a slow leak can cause problems for years before anyone notices.
Is the permit inspection the same as a gas line inspection when buying a house?
No. The permit inspection checks new work. If you’re buying a house with gas and want the existing system checked, that’s a separate service. Our post on what a gas line inspection covers explains what’s involved.